
The Battle of Scapa Flow stands as a significant episode in naval history. Unfolding during World War I in the waters of Scapa Flow, a natural harbour located in the Orkney Islands, Scotland.
Most of us know it as the place where the German Navy scuttled their battleships at the end of WW1. However it was infiltrated by German U-boats during October 1914.
- The Battleships:
- The U-Boats:
- Countries Involved:
- Defences:
- Weather Conditions:
- Timeline of the Battle:
- A Lesson Learnt:
- Scapa Flow’s Legacy:
- Aftermath:
Here we explore the intricacies of the battle, encompassing the ships involved and the pivotal role of U-boats. We’ll look at the countries engaged, the prevailing weather conditions, and a detailed timeline of events surrounding the Battle of Scapa Flow.
The Battleships:
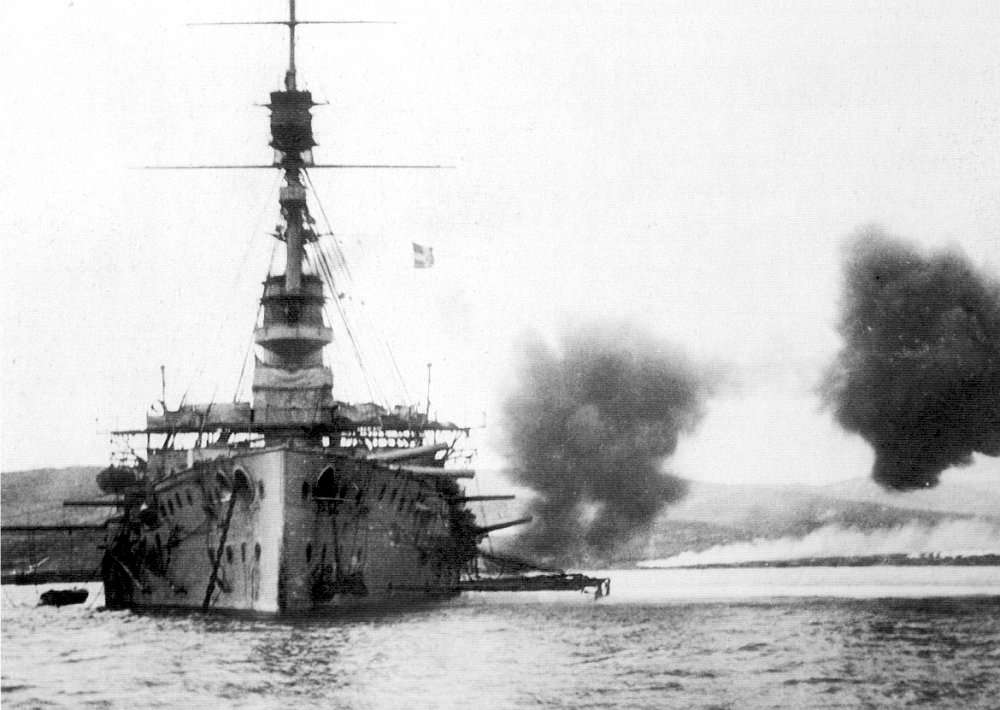
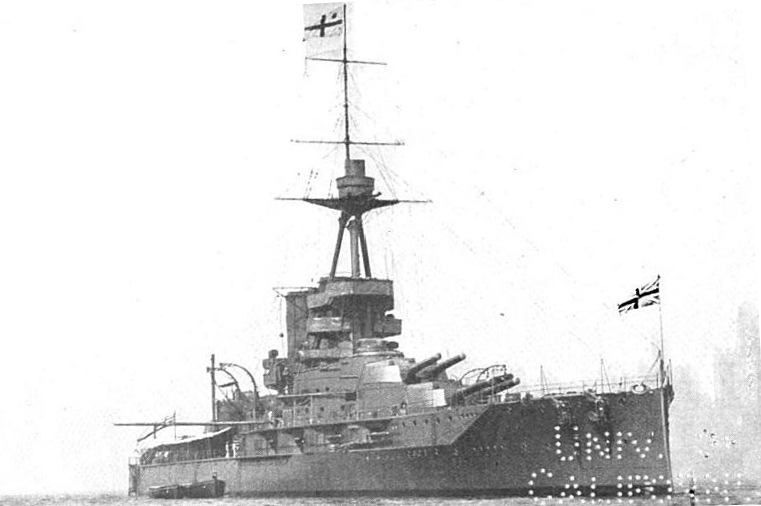
Ships Involved: The Battle of Scapa Flow witnessed the presence of several notable warships from the British Royal Navy. Among them were:
- Battleships: The British deployed powerful battleships including HMS Iron Duke, HMS Canada, HMS Marlborough, HMS Emperor of India, and others. These vessels formed the backbone of the British naval force, ready to defend against enemy attacks.
- Battle Cruisers: The British battle cruiser fleet played a significant role in the battle. Notable vessels included HMS Invincible, HMS Inflexible, HMS Indomitable, and others. These fast and heavily armed ships combined the firepower of battleships with the speed of cruisers.
- Cruisers: The British deployed various cruisers, such as HMS Chester, HMS Southampton, HMS Birmingham. These versatile vessels served in multiple roles, from reconnaissance to fleet support.
- Destroyers: Numerous destroyers played a crucial role in the defence of Scapa Flow. Vessels like HMS Faulknor, HMS Broke, and HMS Maenad patrolled the waters. All were ready to engage enemy submarines and protect the fleet.
The U-Boats:
The Battle of Scapa Flow featured the presence of German U-boats, or submarines, aiming to disrupt the British naval forces. The U-boats involved in the battle included:

- U-18, commanded by Karl Galster.
- U-19, commanded by Constantin Kolbe.
- U-22, commanded by Bruno Hoppe.

These U-boats were deployed with the objective of inflicting damage on the British fleet by launching surprise attacks and sinking key vessels. Nearly all of the British ships were at anchor.
Countries Involved:
The Battle of Scapa Flow engaged the naval forces of Germany and the United Kingdom.
Read More: Sea Shanties, Scurvy & Superstitions: The Sailor in the 1800s
Germany sought to diminish the British naval power by targeting the ships stationed in the strategically vital Scapa Flow harbour. The United Kingdom was determined to protect its naval assets and the critical Scapa Flow naval base.
Defences:
During World War I, the British Royal Navy took extensive measures to protect Scapa Flow. This area was the main naval base in the Orkney Islands, Scotland, from submarine attacks, including the installation of anti-submarine nets.


These nets were an essential part of the defensive measures employed to safeguard the harbour and prevent enemy U-boats, from entering and launching attacks.
U-Boat Nets
The anti-U-boat nets at Scapa Flow consisted of large steel cables strung across the entrance points of the harbour. These nets were designed to create a physical barrier that submarines could not pass through without becoming entangled or trapped. The nets were strategically positioned to cover the entire width of the entrances. This effectively closed off the harbour to submarine incursions.
Read More: Shipwreck Treasure. Salvage or Stealing?
These nets were supported by buoys or floats that kept them afloat on the surface. Weights or anchors secured them to the seabed, maintaining their position and tension. The nets were typically constructed with strong materials to withstand the force of the water and prevent submarines from breaking through. They acted as a deterrent, forcing U-boats to surface or stay submerged outside the protective barriers.
Hydrophones
The anti-submarine nets at Scapa Flow served multiple purposes. They not only acted as physical obstacles, hindering the movement of submarines, but they also served as a visual and audible deterrent. The nets were often equipped with detection devices, such as sensors or hydrophones, which could alert defenders to any contact or attempted breach by enemy submarines.

Additionally, the presence of the anti-U-boat nets forced submarines to surface or stay submerged near the entrance points, making them more vulnerable to detection and attack by surface vessels, including destroyers and patrol boats stationed in the vicinity.

Read More: Exploring the World of Submarine Disasters
The installation of anti-submarine nets at Scapa Flow was part of a broader defensive strategy to protect the vital naval base and its assets from enemy attacks, particularly from U-boats that posed a significant threat during World War I. These nets, along with other measures such as minefields and patrols, played a crucial role in ensuring the security and integrity of Scapa Flow as a key naval stronghold during the war.
Weather Conditions:
The weather conditions on that day were described as unfavourable. With rough seas and poor visibility due to fog and mist.
The presence of fog and mist greatly affected visibility, making it challenging for both the German U-boats and the British defenders to spot and accurately engage their targets. The fog and mist provided some cover and made it difficult to maintain clear lines of sight. This added an element of surprise to the German attack.
The rough seas also played a role in the engagement. The strong winds and rough waves made navigation more challenging for the U-boats. It also affected the stability and maneuverability of the vessels. Additionally, the rough seas made it more difficult for the British defenders to respond quickly and effectively to the U-boat incursion.
The combination of fog, mist, and rough seas created a challenging environment for both sides during the German U-boats’ entry into Scapa Flow in 1914.
Read More: The Rise and Fall of the Hovercraft
These weather conditions influenced the tactics, visibility, and overall dynamics of the engagement, contributing to the success of the German U-boats in infiltrating the harbour and launching their attacks.
Timeline of the Battle:
- October 13, 1914: German U-boats, U-18, U-19, and U-22, infiltrated the defences of Scapa Flow and launched a surprise attack.
- U-18 fired torpedoes at HMS Iron Duke, the flagship of the British fleet, but the torpedoes missed their target, failing to inflict damage.
- U-19 launched torpedoes at HMS Cornwallis, another British battleship, but they also missed their mark.
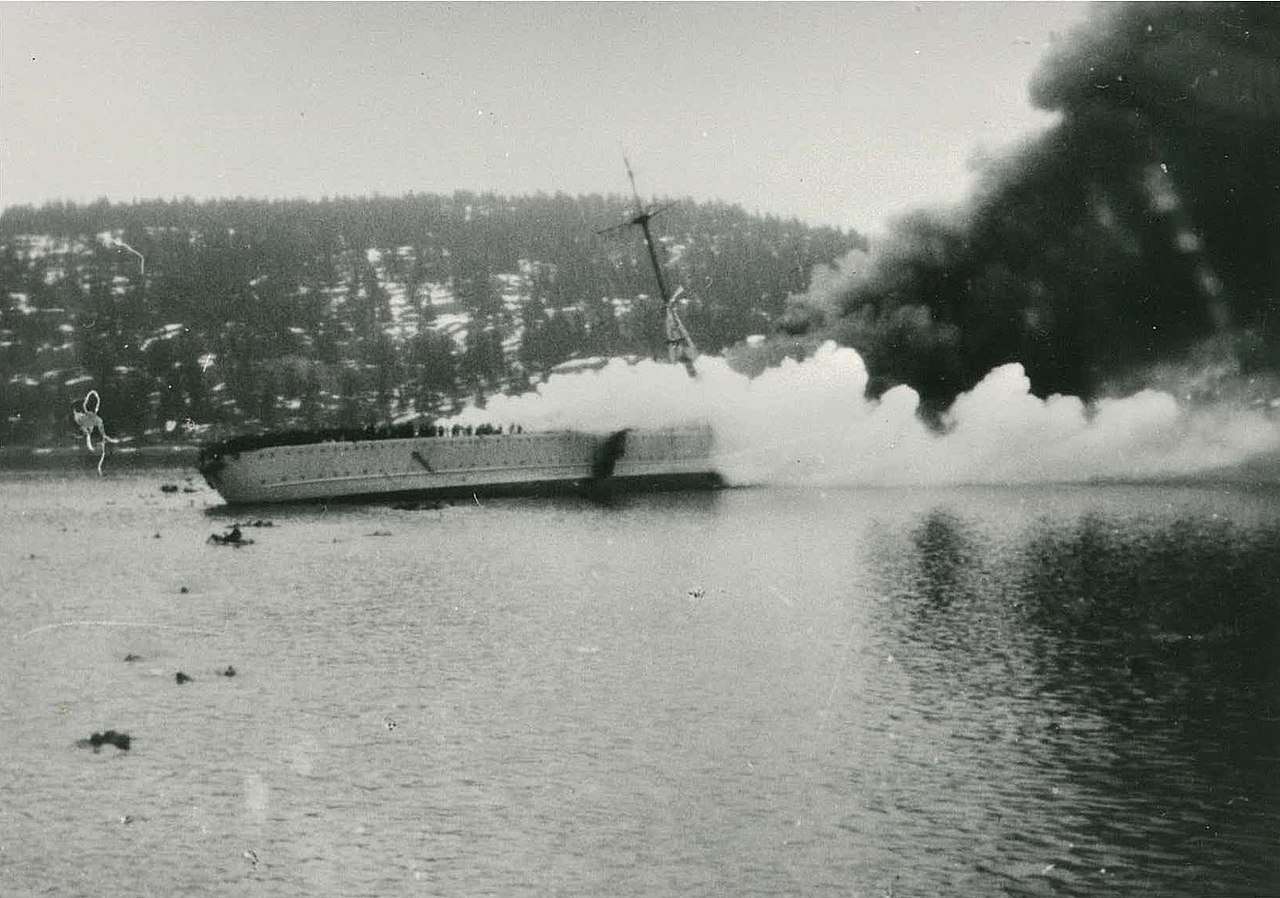
- U-22 encountered HMS Audacious, a battleship of the British fleet. HMS Audacious struck a mine and began to sink, forcing its crew to abandon ship.
- British destroyers swiftly responded and attempted to counterattack, but their efforts to locate and engage the German U-boats proved ineffective.
- October 17, 1914: HMS Audacious sank entirely, becoming the only British battleship to be lost during the Battle of Scapa Flow.
A Lesson Learnt:
The Battle of Scapa Flow had a lasting impact on the course of World War I and naval warfare in general. Although the German U-boats failed to inflict significant damage on the British fleet during this particular engagement, the battle highlighted the vulnerability of even well-protected harbours.

As a result, the British Royal Navy took immediate measures to reinforce the defences of Scapa Flow, including the installation of additional minefields and anti-submarine netting.
Furthermore, the sinking of HMS Audacious demonstrated the potential effectiveness of mine-laying operations and emphasised the need for improved mine-sweeping capabilities.
Read More: Henry VIII and the Mary Rose Disaster
The British Navy realised the importance of developing countermeasures against U-boats, leading to advancements in anti-submarine warfare strategies and technologies.
The Battle of Scapa Flow also underscored the critical role of naval bases and their protection during wartime. Scapa Flow, as a strategically located harbour, served as a significant base for the British Navy throughout World War I.
The attempted German attack on this base heightened the awareness of the importance of secure naval facilities for the effective projection of naval power.
Why is Scapa Flow Famous?
Scapa Flow is a Scottish body of water known for its role in the First and Second World War: A station and a base. During WWI, Scapa Flow was used by the British as a station for their Grand Fleet. Later in WWII, Scapa Flow was used as a base of the British Navy. What made Scapa Flow so useful to the British was its large, strategic location. Additionally, thanks to its position in the Orkney Islands, Scapa Flow has safe waters.
Aftermath:
The Battle of Scapa Flow, fought in the early stages of World War I, demonstrated the significance of naval defences and the evolving tactics employed by both sides. The British Royal Navy, with its formidable battleships, battle cruisers, cruisers, and destroyers, successfully defended the strategic harbour against the German U-boat attack.
Although the sinking of HMS Audacious represented a loss for the British, it spurred the development of improved defensive measures and anti-submarine strategies.
Read More: Dreadnought Guitars: The Musical Big Guns
The Battle of Scapa Flow holds historical significance as an early example of submarine warfare and the challenges faced by naval forces during World War I.
It serves as a reminder of the critical role played by naval bases in supporting maritime operations and the constant need to adapt and strengthen defences in the face of evolving threats.